Felt Beaded Ornament DIY
- Santara McGlynn
- Nov 27, 2017
- 3 min read

I remember very vividly the Hanging of the Greens service my church used to have when I was young. They would distribute the most lovely, hand-made ornaments out to us children, each being symbolic with a special meaning, alluding to the birth story in some way. As they read from scripture, when our turn came we would hang our ornament. All of the ornaments were made from this white styrofoam that had been cut, carved, & adorned with gold embellishments. They were the most beautiful Christmas ornaments in the world, I'm still convinced. Call my crazy, but I have this incandescent dream of having a Christmas tree in my home with nothing on it but handmade ornaments. I'm not talking popsicle-stick reindeer, but more like beautiful, intricate ornaments that I can pass on. Buying a bunch of plastic ornaments or glass balls doesn't feel very meaningful (not throwing any shade if that's what you have, just personal preference). So, with that being said, I have made a DIY showing how to make your own felt ornaments, for those of you who might wish the same.
I will admit, this is a rather time-consuming project. However, it can be done completely by hand. It isn't necessarily difficult, it just takes a decent amount of patience.
Supplies:
-felt
-pollyfill
-cardstock
-ribbon
-fabric scissors
-embroidery floss
-thread (I used metallic & normal on different ornaments)
-sequins
-beads
-embroidery needles
-beading needles

Step 1:
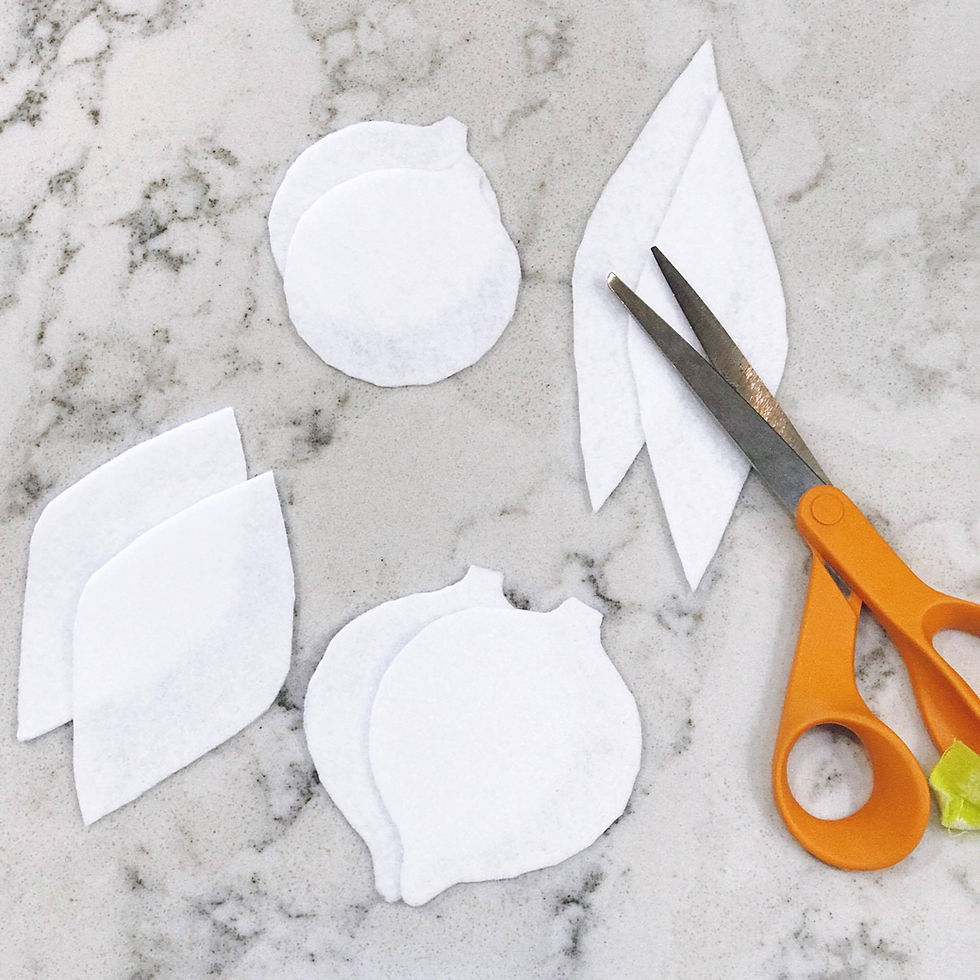
First, you need to create templates to base your ornament off of. I made the mine by folding cardstock in half and drawing half an ornament along the edge, so when I cut it out it would be symmetrical when opened. After making your templates trace 2 of each template on your felt, as to make the front & back of each ornament.

Step 2:
Cut out the traced shapes on the felt.

Step 3:
Once you have your designs cut out, take & thread your beading needle & make a knot at the end of the string. Begin sewing with the knot at the back side of your felt. As you pull out your needle, you may begin threading your sequin & bead, then go back through the sequin and felt to secure the embellishment in place. Continue to repeat in the design of your choice.


Step 4:
If you like, you can add other embellishments to your ornament with embroidery floss & your embroidery needle.

Step 5:
Now that the front of your ornament is completely embellished, you may begin sewing around it to close it. Have your ribbon knotted & ready to be sewn in by tying it in a simple knot. Sew around most of the ornament but leave an opening large enough to stuff your ornament with polyfill. You may choose to add a small tassel tail at the end of your ornament. If so, before sewing the bottom of the ornament closed, follow step six.

Step 6:
To make a tail at the end of your ornament, take your thread (I used metallic) & wrap it around three fingers around 20-30 times. This will create the thickness of your tail. Once you are happy with the thickness, take the wrapping off your fingers and tie a knot at the top of it with another piece or thread to keep it from unraveling. After you have a secure knot holding the thread, cut open the bottom threads to make your tassel. Finally, stuff the top, knotted portion of your tassel tail into the bottom of your ornament.


Step 7:
Stuff your polyfill into the remaining opening until you are happy with how plush your ornament is.

Step 8:
Continue to sew up the opening you just used for stuffing your ornament. Once you get to the top of the ornament where your ribbon hoop should go, insert the ribbon with the knot beneath where you would sew, and sew the ribbon into the ornament. Finish sewing around the ornament until completed.

And you're finished!

Here are some other variations I created using similar techniques.


#diyornament #diyfeltornament #diyfeltbeadedornament #whiteornamentsdiy #plushornament #christmasornamentdiy #diychristmascraft #kinfolkchristmas #interiordesignernc #interiordesignhickorync #minimalistchristmas #blowingrockinteriordesigner #booneinteriordesign #ashevilleinteriordesign #hickoryinteriordesigner #hickoryinteriordesign #lenoirinteriordesign #charlotteinteriordesign
Comments